Overview
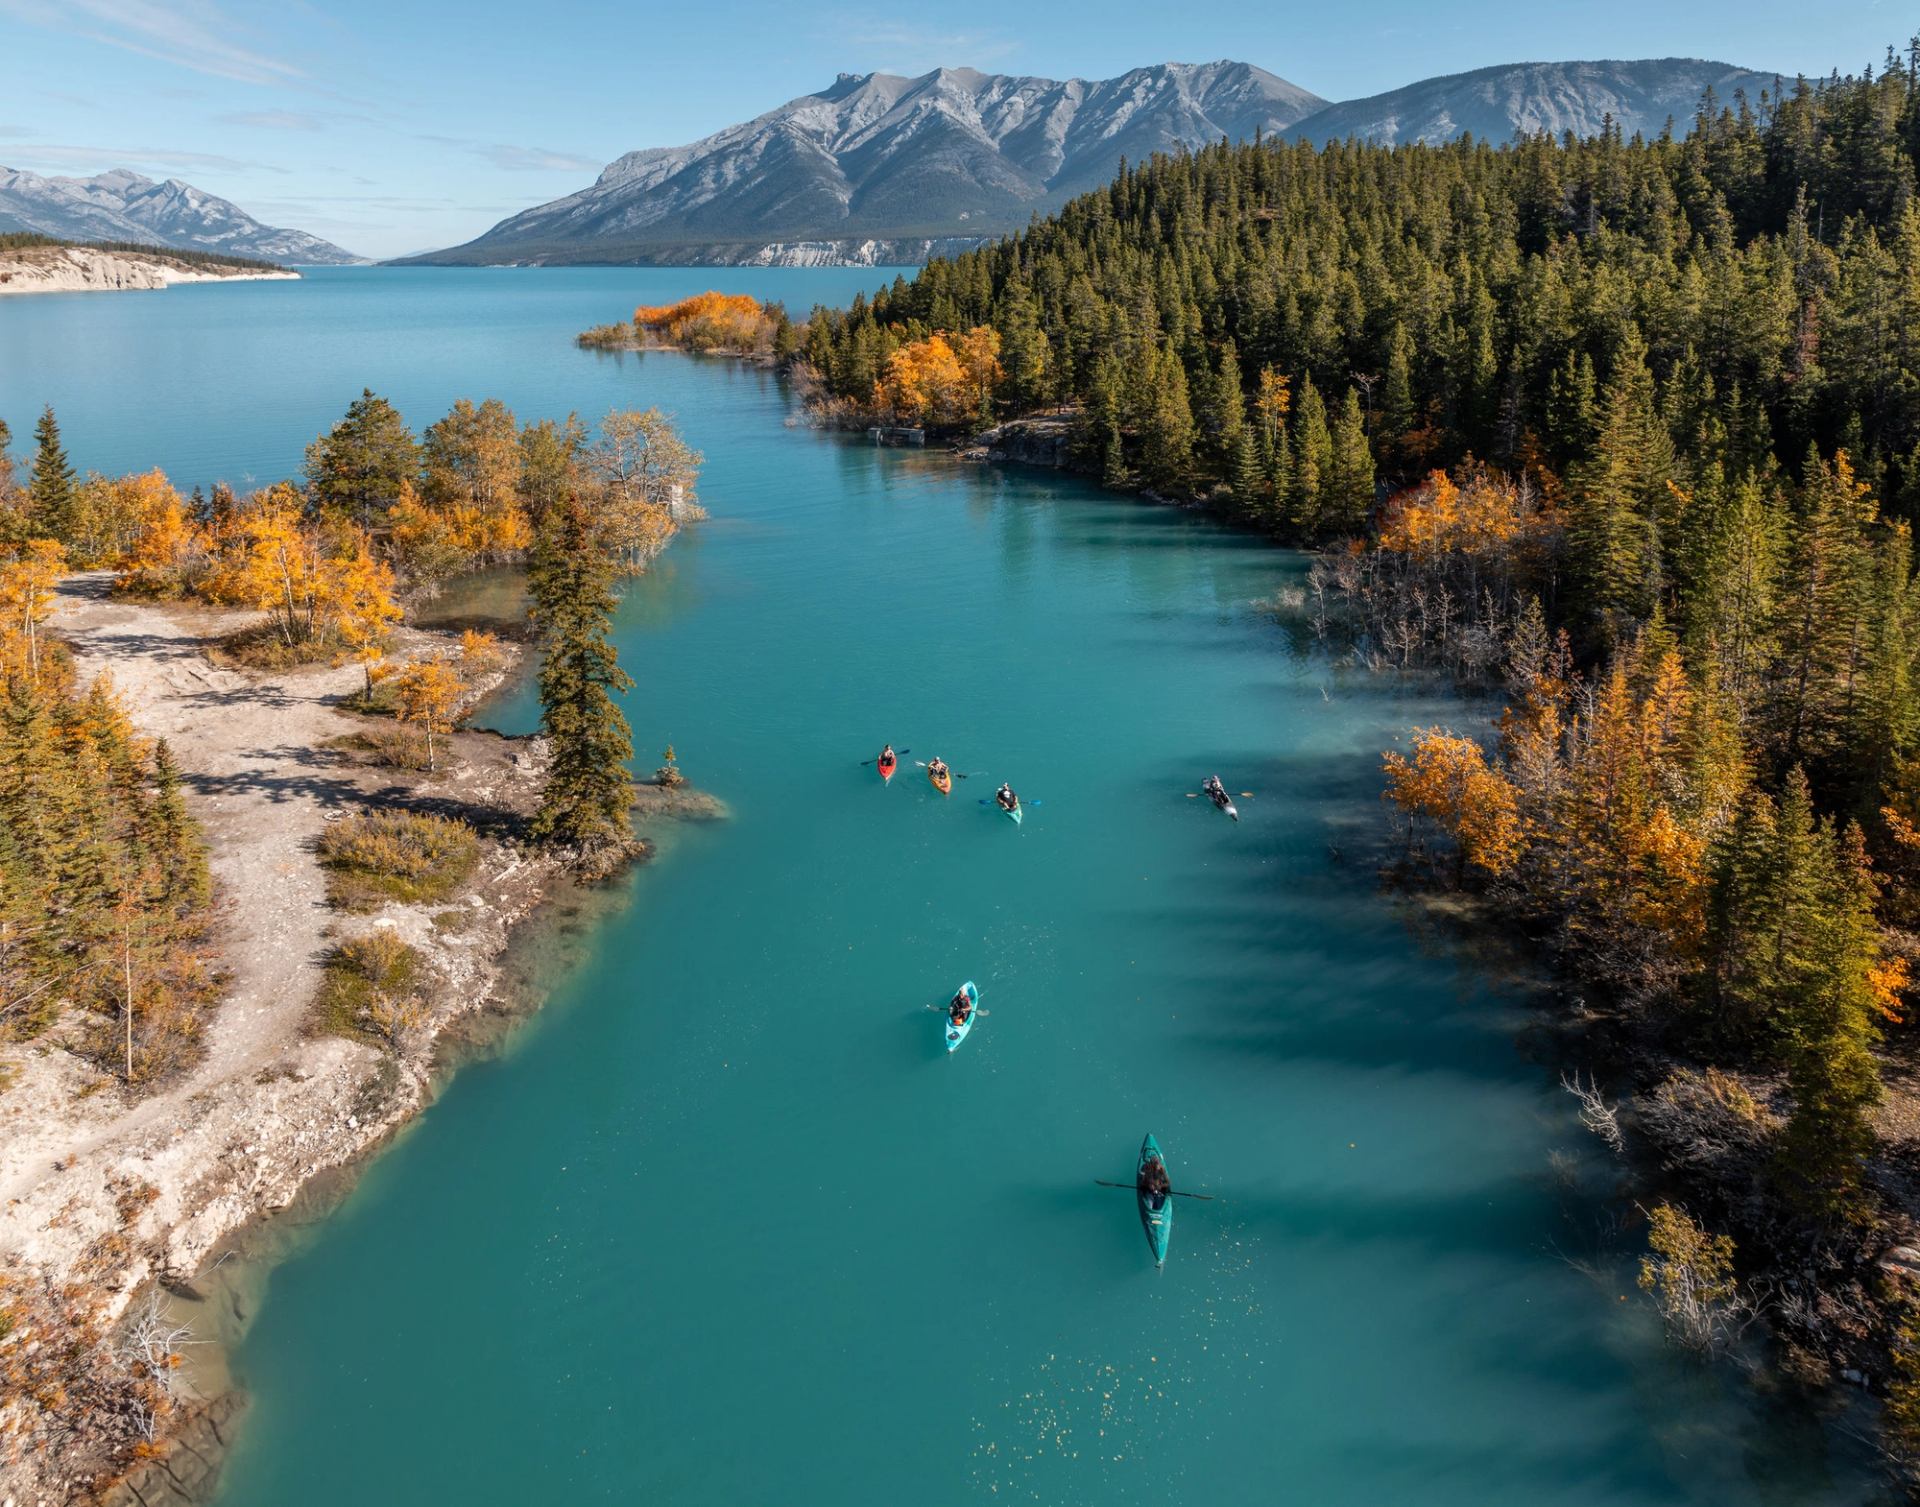
Travel Alberta’s Multimedia Library shares brand resources including beautiful photography and video footage. You can use this library to find the visual and content support to promote Alberta’s authentic experiences in breathtaking landscapes.

How to use the Multimedia Library
Finding stunning visuals in our Multimedia Library is seamless and intuitive, but sometimes it helps to have a little guidance. Get the answers you need with our step-by-step videos!
Register for Access
On registration, you'll be granted limited access to the library while your account is reviewed. Once your account is reviewed, you'll be able to see a larger selection of assets.
Usage Guidelines
The Multimedia Library is intended to support creative that promotes Alberta as a tourism destination. Access to library must align with our Terms and Conditions of Use.
Brand Story
Use these attributes and assets for effective and cohesive brand storytelling, content development, and campaigns.
One sleek library: Thousands of stunning visuals
Questions? We've got the answers
Visit multimedia.travelalberta.com and click the Login or Register a New Account button.
As of July 15, 2025, Travel Alberta's Multimedia Library (MML) is on a new platform. On your first visit, please choose one of the below options to register a new account:
Using Google or Microsoft: If your company uses Google or Microsoft for email, Single Sign-On (SSO) is enabled. Simply click the Google or Microsoft button and follow the prompts to register using your existing account credentials.
Using email and password: Prefer to register with an email and password? Click “Register an Account” and follow the prompts.
With either option, on your first visit, you will be asked to supply your name, email address, company, and agree to the privacy policy and terms & conditions.
On return visits after registration, you will use the same Login or Register a New Account button and login with your username and password or Google or Microsoft Account.
For log in related questions, refer to What is the Travel Alberta Passport or contact us at tapassport@travelalberta.com.
Once you're logged in, you'll initially see a limited selection of assets while our team reviews your registration. If eligible, your access will be automatically upgraded within 2 business days to include the full asset library.
If you're still seeing limited content after that time, please reach out to multimedia@travelalberta.com for support.
Our Terms & Conditions provide details on acceptable use of the assets within the Travel Alberta Multimedia Library. Please take a moment to review them, as they provide helpful guidance and clarity.
When possible, please include a credit. Credit information can be found within the Multimedia Library asset details under the Credit Line field. While we understand that crediting may not always align with creative direction or layout constraints, it’s encouraged — though not mandatory.
The Alternate Text field can be a great place to add a credit without impacting the visual content.
We also encourage the use of our hashtag on social media posts using our assets - #ExploreAlberta.
It’s important to note that our assets are not permitted to be hosted on third-party libraries or platforms outside of our Multimedia Library. Additionally, assets should be used on a per-project basis and should not be saved or stored locally on personal or company devices.
For any more specific questions around acceptable use and crediting, please reach out to multimedia@travelalberta.com.
We have a collection of short tutorial videos that walk through the platform and explain core functions like finding, downloading and sharing assets.
You can access our Tutorial Library here.
For additional questions, contact the Multimedia Library support team at multimedia@travelalberta.com.
Our Multimedia Library is an industry-leading resource for photo and video assets, one that we need to update to keep up with innovative tools and ensure Alberta’s tourism industry can grow and thrive.
Bynder is the platform we use to provide you with the visual assets you need. With increased search and personalization options, the upgraded MML will have the same great assets, but with improved user experience.
As part of the new MML you will discover updates such as:
- AI Search Features:
- Search by Image – upload an image to search the MML and find more details
- Natural Language Search – find images by describing them with phrases like “smiling woman sitting on a bench”
- Similarity Search – find images that look similar to one you’ve already found
- In-platform crop and scale – alter images before you download to save a step
- Better tagging to make it easier to search and filter to find just what you need
- Easier identification of file types – videos vs. photos at-a-glance
- Easier access through Single-Sign-On (SSO)
- Bynder Mobile App
- Available for both iOS & Android
- Ability to download assets/collections for offline access (iOS only)
- Access Assets and Collections
- Search, filter, and download
Look for the Trending Assets on the homepage dashboard. As we add more assets, they will appear first in results by default.
To find newest assets in the full collection, use the Years filter under Setting to choose 2025. You can also type 2024 OR 2025, for example, in the search bar to narrow down your selection to those years.
Pay attention to file names. Each file has a letter and two numbers at the start of its file name. The number refers to the year the image was added to the library. For example, a file labelled with “a25” means the image was added in 2025.
You can also create Saved filters for keywords you access often and any new assets that fit in the saved filters will automatically be included as they’re added.
- PowerPoint_Web_HighRes – for use in Presentations, websites or other applications needing a high-quality output without needing full size Original.
- Preview_Thumbnail_LowRes – for use in proofing, preview or intermediary steps where lower quality is sufficient, or for small size applications like Thumbnails.
- Convert_to_JPG - available for TIF, PNG and vector formats – for use when other formats aren’t compatible or a smaller file size is desired.
- Convert_to_PNG – available for vector formats – for use when other formats aren’t compatible and background transparency is desired.
We maintain the Multimedia Library with the most current and relevant assets, so it’s possible the asset has been removed. However, with the new platform, there are now more ways to locate assets, including AI search features. If you're having trouble finding something, try using the search by image feature—it can help surface visually similar assets even if the name or tags have changed.
If you still can’t find what you’re looking for, please reach out to multimedia@travelalberta.com with the asset name, description, or a reference image, and we’ll confirm whether it’s still available.
No, our software licensing agreement requires that all individuals have their own login. Please ensure each person using the Multimedia Library registers their own account.
When you see a "Need Admin Approval" message after attempting to log in with your Microsoft account, it means you need approval from your organization's administrator. Please contact your organization's IT department for assistance.
Alternatively, you can register using an email and password.
Use the Support and/or Feedback tabs in the bottom right of the screen when logged into the new MML, or reach out to multimedia@travelalberta.com.
Multimedia Library
Can't find what you're looking for? We're here to help. Please contact the Multimedia Library support team via email.